

How to Prepare the Ground Before Laying Artificial Grass
Installing artificial grass can completely transform your lawn into a lush, green, and low-maintenance space all year round. However, the success of your artificial grass installation hinges on one critical factor—proper ground preparation. Ensuring that the base is well-prepared helps your artificial turf lay evenly, look natural, and last for many years. In this guide, we’ll walk you through the steps necessary to how to prepare the ground before laying artificial grass for the best results.
Why Ground Preparation Is Critical
Proper ground preparation plays a pivotal role in ensuring the longevity and appearance of your artificial lawn. Without it, common issues such as weed growth, uneven surfaces, or water pooling may arise. Each of these problems can drastically reduce the durability and aesthetic appeal of your synthetic turf.
A well-prepared base not only enhances the durability of your artificial grass but also ensures it remains beautiful for years to come. Whether you’re installing pet turf, a playground turf, or a commercial turf, attention to detail during the ground preparation phase is crucial for long-term satisfaction.
Environmental Benefits of Artificial Grass
Switching to artificial grass not only reduces maintenance but also contributes to environmental sustainability. By eliminating the need for mowing, watering, and chemical fertilizers, synthetic turf helps conserve water and reduce carbon emissions. A well-prepared artificial lawn saves up to 55 gallons of water per square foot annually, making it an eco-friendly choice for homeowners.
Gather the Necessary Tools and Materials
Before starting, it’s essential to gather the right tools and materials to ensure a smooth process. Here’s a list of what you’ll need:
Tools:
- Turf cutter or sod cutter (for removing existing grass)
- Shovel or spade
- Tamper or plate compactor
- Utility knife
- Garden rake
- Measuring tape
- Turf installation nails or staples
Materials:
- Geotextile weed barrier fabric
- Crushed stone or decomposed granite for the base material
- Silica sand or sand infill
- Turf adhesive
Optional: Drainage materials like perforated pipes if you’re installing on areas with poor drainage
Step 1: Remove the Existing Surface
Whether you have natural grass, gravel, or a concrete surface, the first step is to remove any existing lawn or debris. This creates a clean foundation for the synthetic grass.
- Clear the Grass: Use a turf cutter to remove existing grass, ensuring that you dig at least 2-3 inches deep to make room for your base layer.
- Remove Rocks and Debris: After removing the grass, thoroughly clear the area of stones, weeds, and debris. This ensures a flat, even surface for your artificial turf installation.
- Apply Weed Killer: Consider applying a weed killer at this stage, especially if you live in an area with aggressive weeds. This will prevent weed growth under the fake grass.
How to Handle Sloped or Uneven Surfaces
If your yard has uneven or sloped surfaces, additional steps are required to ensure proper leveling. Start by grading the area to create a slight slope for optimal water runoff. For steep inclines, consider terracing or installing retaining walls to stabilize the ground. Using compacted base material ensures a smooth surface for the artificial turf, preventing wrinkles or dips.
Step 2: Build a Stable Base Layer
The base preparation is arguably the most critical step in ensuring that your artificial grass remains level, smooth, and well-drained.
- Add Crushed Stone or Decomposed Granite: Spread about 2-4 inches of crushed stone or class II road base. This material offers excellent drainage while creating a stable foundation.
- Level the Base: Using a rake, spread the base material evenly across the surface, making sure there are no dips or bumps. This will help avoid uneven surfaces in your finished lawn.
- Compact the Base: A key step in the process is compacting the base. Use a plate compactor or tamper to compress the material tightly. A properly compacted base layer ensures your artificial turf won’t shift or settle over time.
Importance of Drainage Systems in Artificial Grass Installation
Proper drainage is crucial for maintaining the integrity and appearance of your artificial lawn. Installing a drainage system, such as perforated pipes, helps channel excess water away from the surface, preventing pooling and waterlogging. This is particularly important for areas prone to heavy rainfall. By ensuring efficient drainage, your artificial grass stays dry, clean, and free of damage caused by standing water.
Step 3: Install the Weed Barrier
To prevent unwanted weed growth, it’s important to install a weed barrier after compacting the base.
- Lay the Weed Barrier Fabric: Roll out the geotextile weed barrier across the entire area. This step is crucial to prevent weeds from growing through the synthetic grass and disrupting the appearance of your turf.
- Secure the Barrier: Use landscape staples or turf pins to hold the weed membrane in place. Make sure the fabric is laid flat and overlaps slightly to avoid any gaps.
Step 4: Add the Sand Infill
Silica sand or sand infill is necessary to support the turf blades and improve drainage. The infill also provides weight to keep the synthetic turf in place.
- Spread the Infill Material: Evenly distribute silica sand across the surface, aiming for about 1-2 pounds of sand per square foot of turf.
- Rake the Sand: Use a rake to work the sand infill into the turf blades. This ensures the grass stands upright and appears natural.
- Compact the Infill: After spreading the sand, use the plate compactor again to compact the infill, making sure it’s set properly.
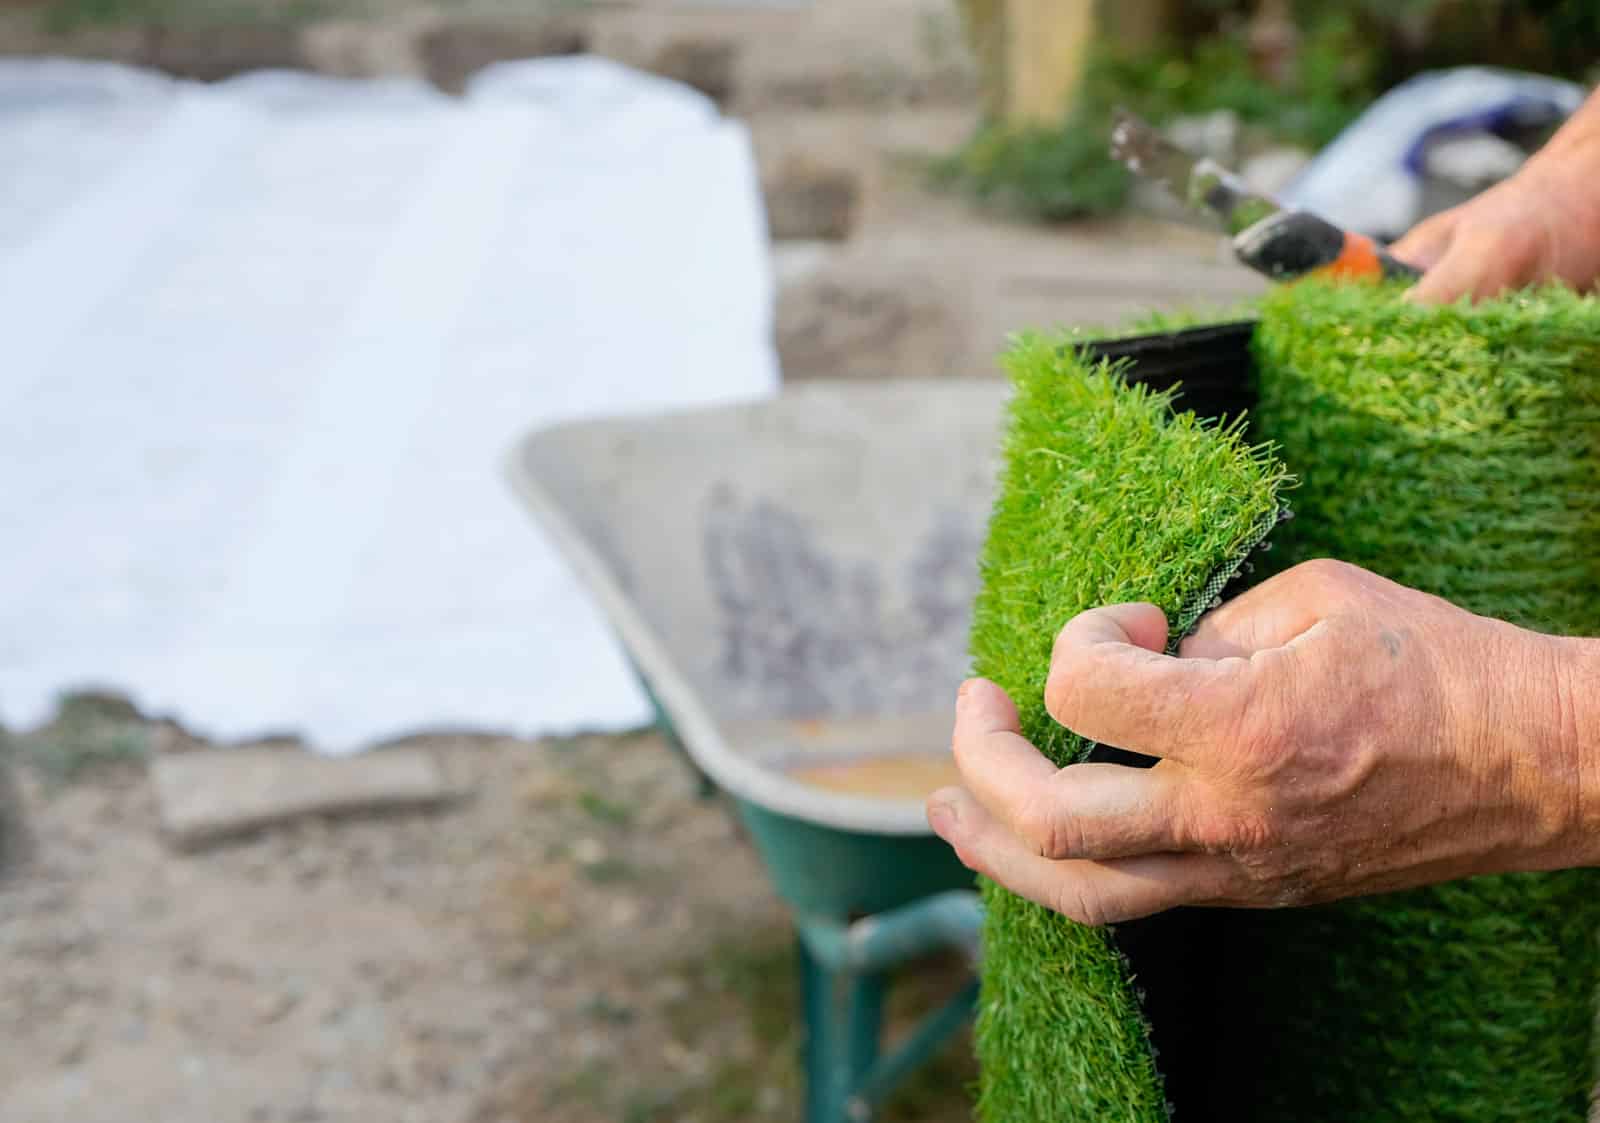
Step 5: Lay the Artificial Turf
Now that the base preparation is complete, it’s time to install your artificial lawn.
- Roll Out the Turf: Lay out the artificial grass over the compacted base. Ensure the blades are all facing the same direction for a uniform look.
- Trim the Turf: Use a utility knife to trim any excess turf to fit the shape of your yard.
- Secure the Turf: Use turf nails or turf adhesive to anchor the synthetic lawn to the ground. Ensure you place nails every 6 inches along the perimeter and in high-traffic areas to avoid movement.
Step 6: Brush the Grass
The final step is brushing the artificial grass to make sure it looks lush and realistic.
- Use a Stiff Brush: Brush against the grain of the grass blades to “fluff” them up. This will make your turf look more like real grass.
Final Inspection: Walk around your new artificial lawn to ensure that everything is secure and level.
Post-Installation Maintenance Tips
While artificial grass requires minimal upkeep, regular maintenance keeps it looking its best. Here are a few tips:
- Rinse Regularly: Use a hose to wash away dust, debris, and pet waste.
- Inspect Edges: Check for loose edges or lifted areas and secure them with turf nails.
- Remove Leaves: Use a leaf blower or rake to clear leaves and organic debris to maintain the turf’s appearance.
- Refresh Infill: Add infill as needed to support the blades and improve drainage.
Routine maintenance ensures your artificial lawn stays clean, vibrant, and functional.
Common Mistakes to Avoid
While installing artificial turf is a straightforward process, there are a few pitfalls to be aware of:
- Neglecting Proper Drainage: Without a solid drainage plan, water can pool, causing damage to your turf.
- Improper Compaction: If the base layer is not properly compacted, the turf may shift or wrinkle over time.
Tips for Choosing High-Quality Artificial Grass
Not all artificial grass products are created equal. When selecting synthetic turf, consider these factors for the best results:
- Blade Density: Higher blade density creates a more natural look and feel.
- UV Resistance: Ensure the grass is UV-stabilized to prevent fading from sunlight.
- Infill Material: Opt for infills like Environfill Microban for added antimicrobial protection.
- Durability: Choose products with a high wear tolerance for heavy foot traffic.
By choosing high-quality materials, you ensure a beautiful and long-lasting lawn that meets your needs.
How LawnPop® Can Help
Feeling overwhelmed by the process? Don’t worry—LawnPop®, Texas’s premier artificial turf experts, are here to help. We specialize in professional artificial turf installation, ensuring your lawn or landscape looks incredible and lasts for years to come.
At LawnPop®, we are committed to using the highest quality artificial grass products for both residential and commercial properties. Whether you’re interested in installing pet turf, a playground turf, or a stunning synthetic lawn, we have the expertise and experience to make it happen. Contact us today for a free estimate. Call (512) 298-0933 or email us at Team@LawnPop.com to get started on your dream lawn!